The “Wake Panther”
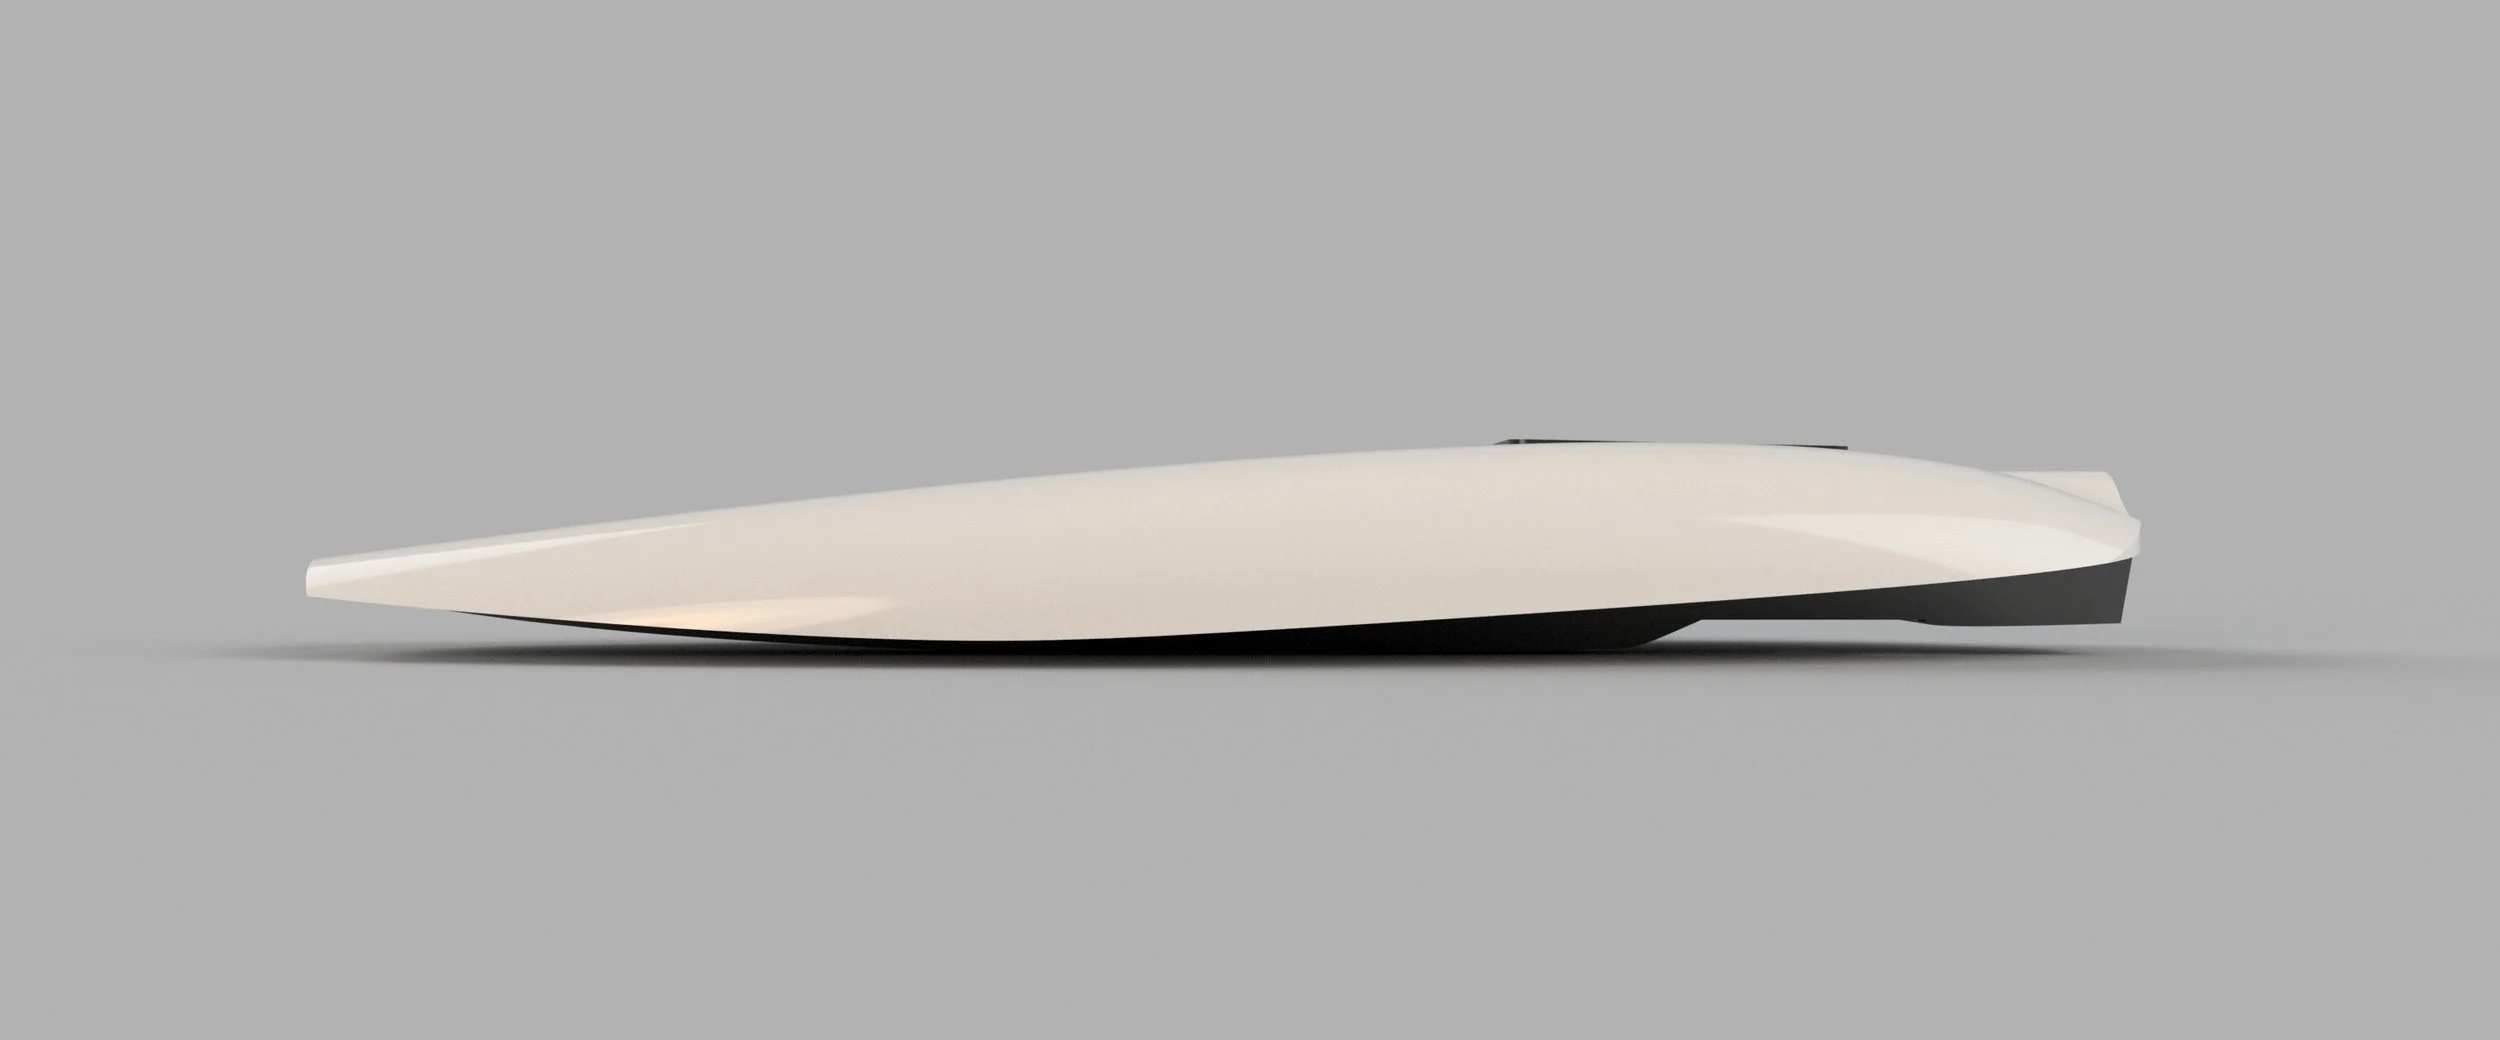
An entirely custom and hand-built electric surfboard, designed and built from scratch. An exercise in CAD, composites, electronics, integration and scope creep…
Context
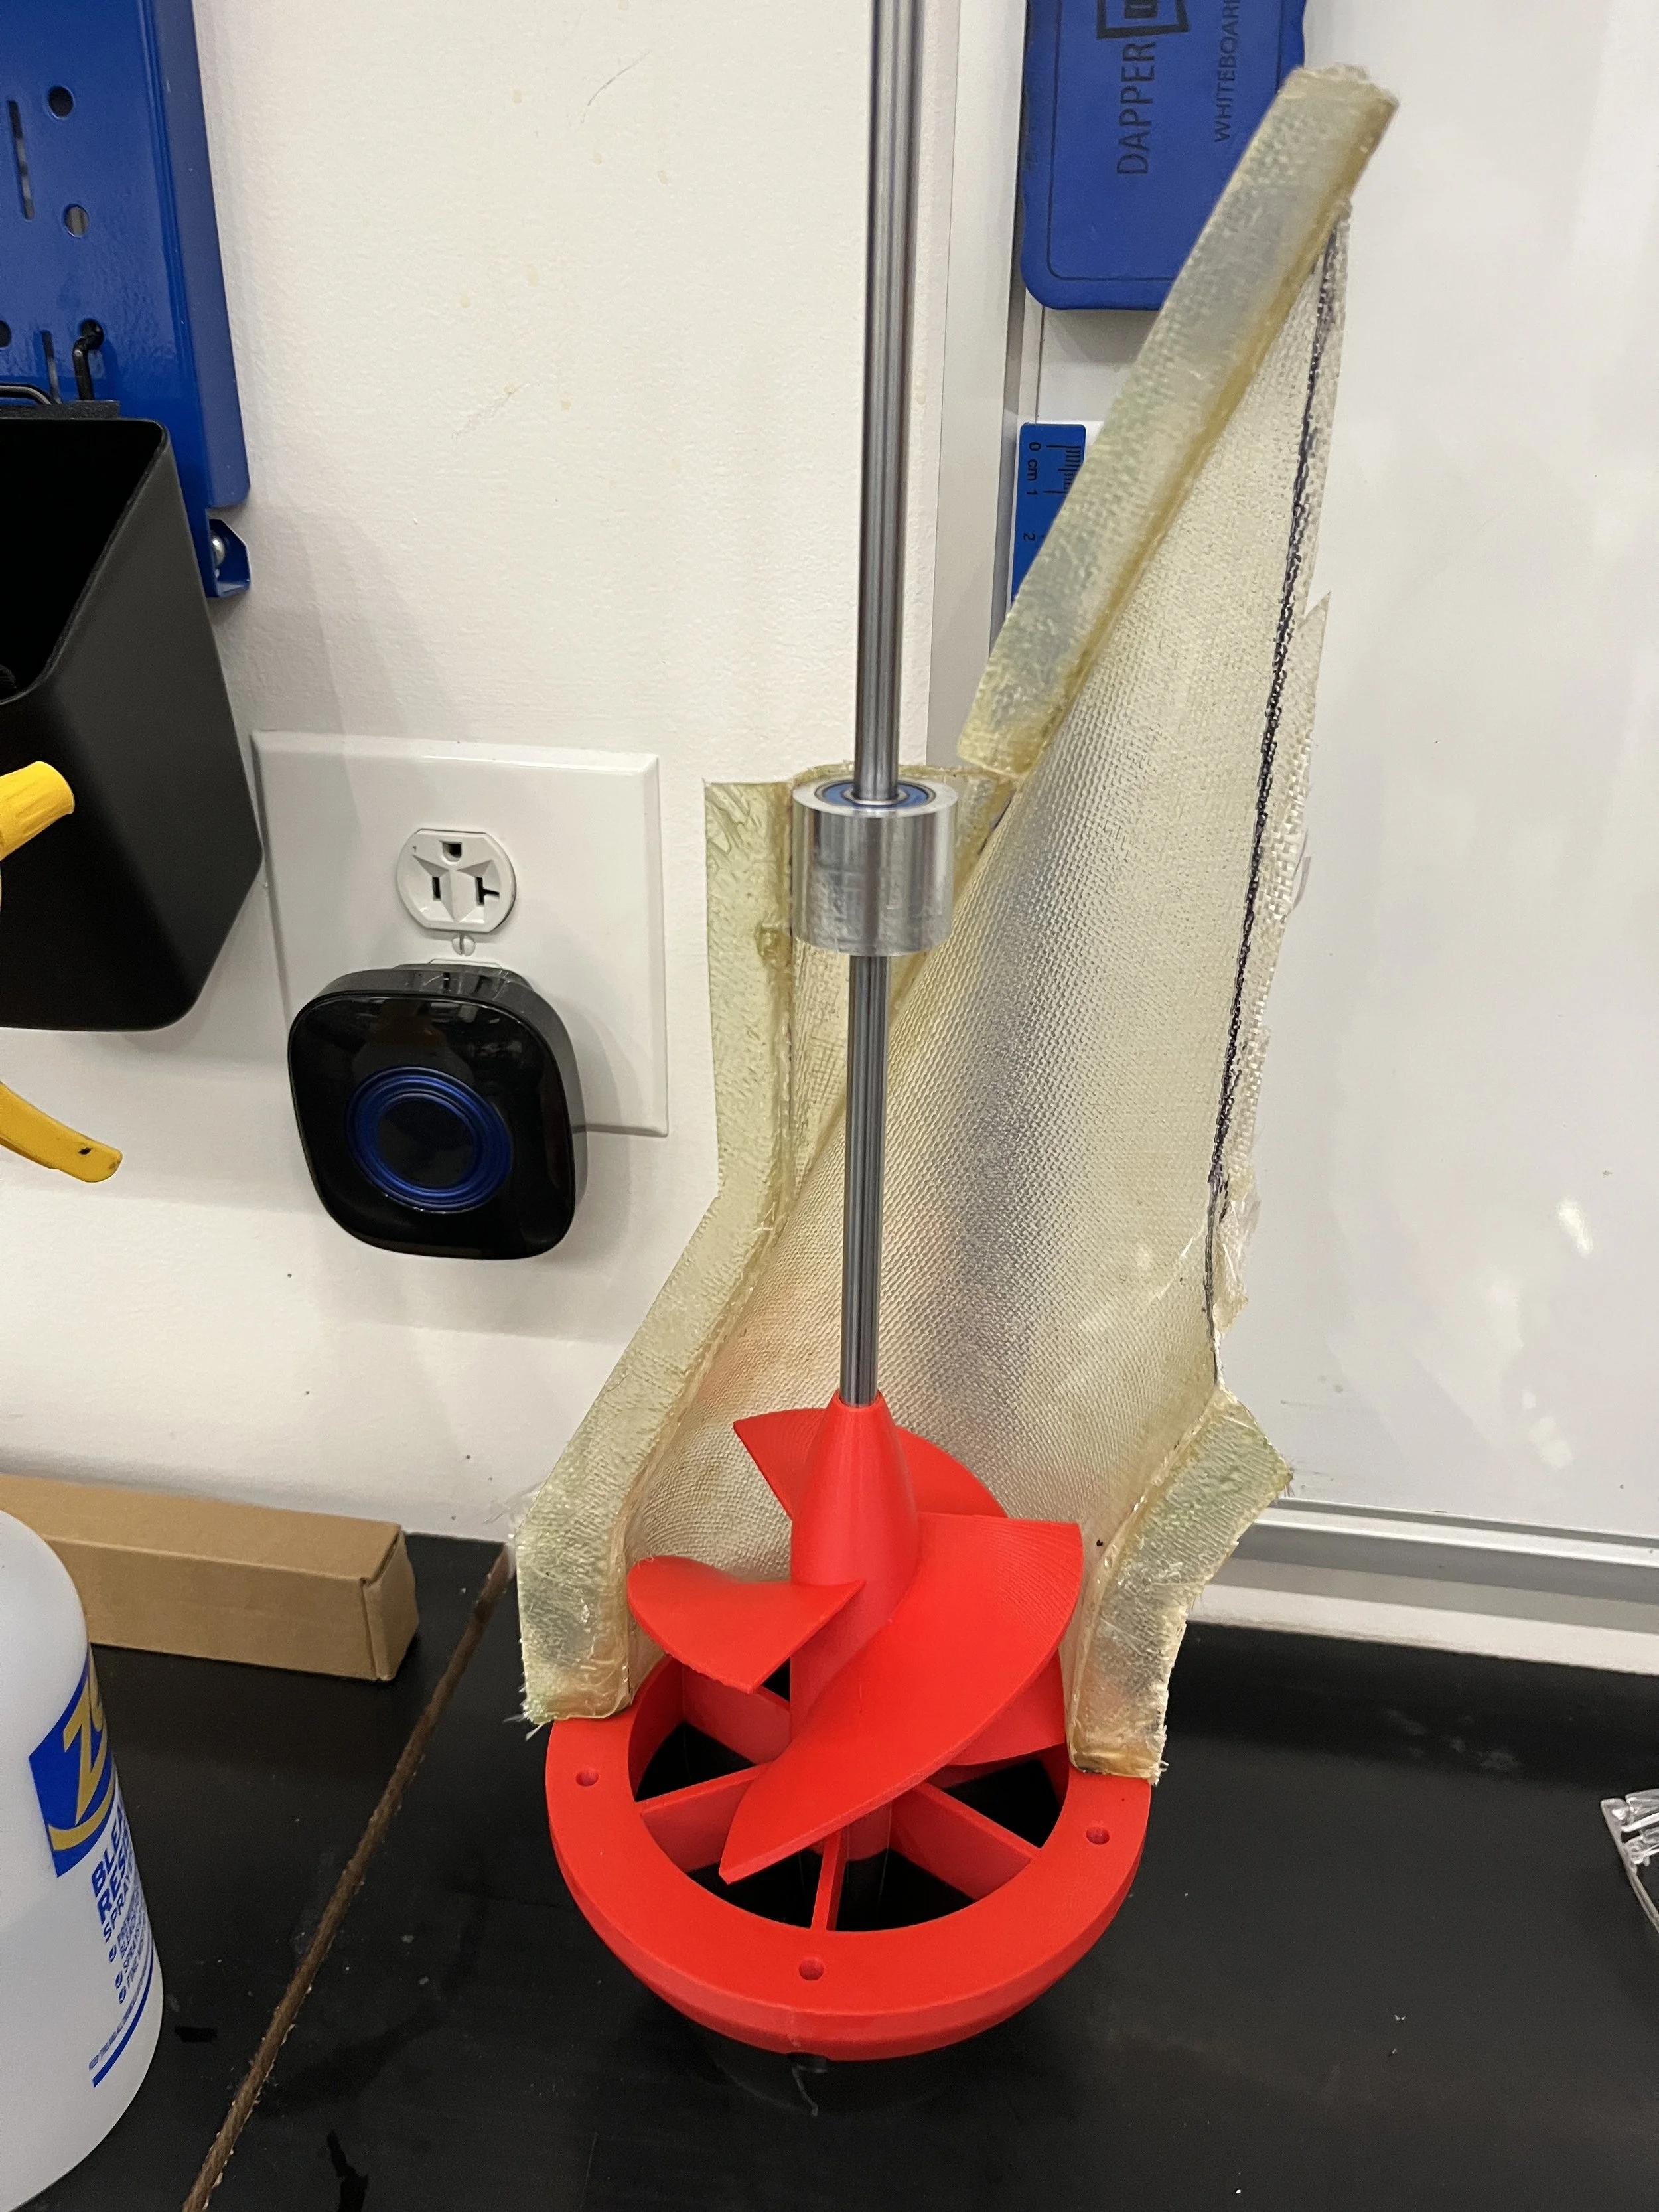
This project began as a CAD exercise: design and fabricate a jet pump and impeller from scratch. When I tested the fiberglass pump assembly in a sink, it produced far more thrust than I expected. I started designing a surfboard around it in Fusion 360 during my lunch breaks, as a way to combine composites, electronics, and fluid dynamics in one build. Integrating high-power electronics into a vehicle that lives in the water has proven much harder than the pump itself. The project is ongoing, and each round of testing moves it closer to a working prototype.
Content
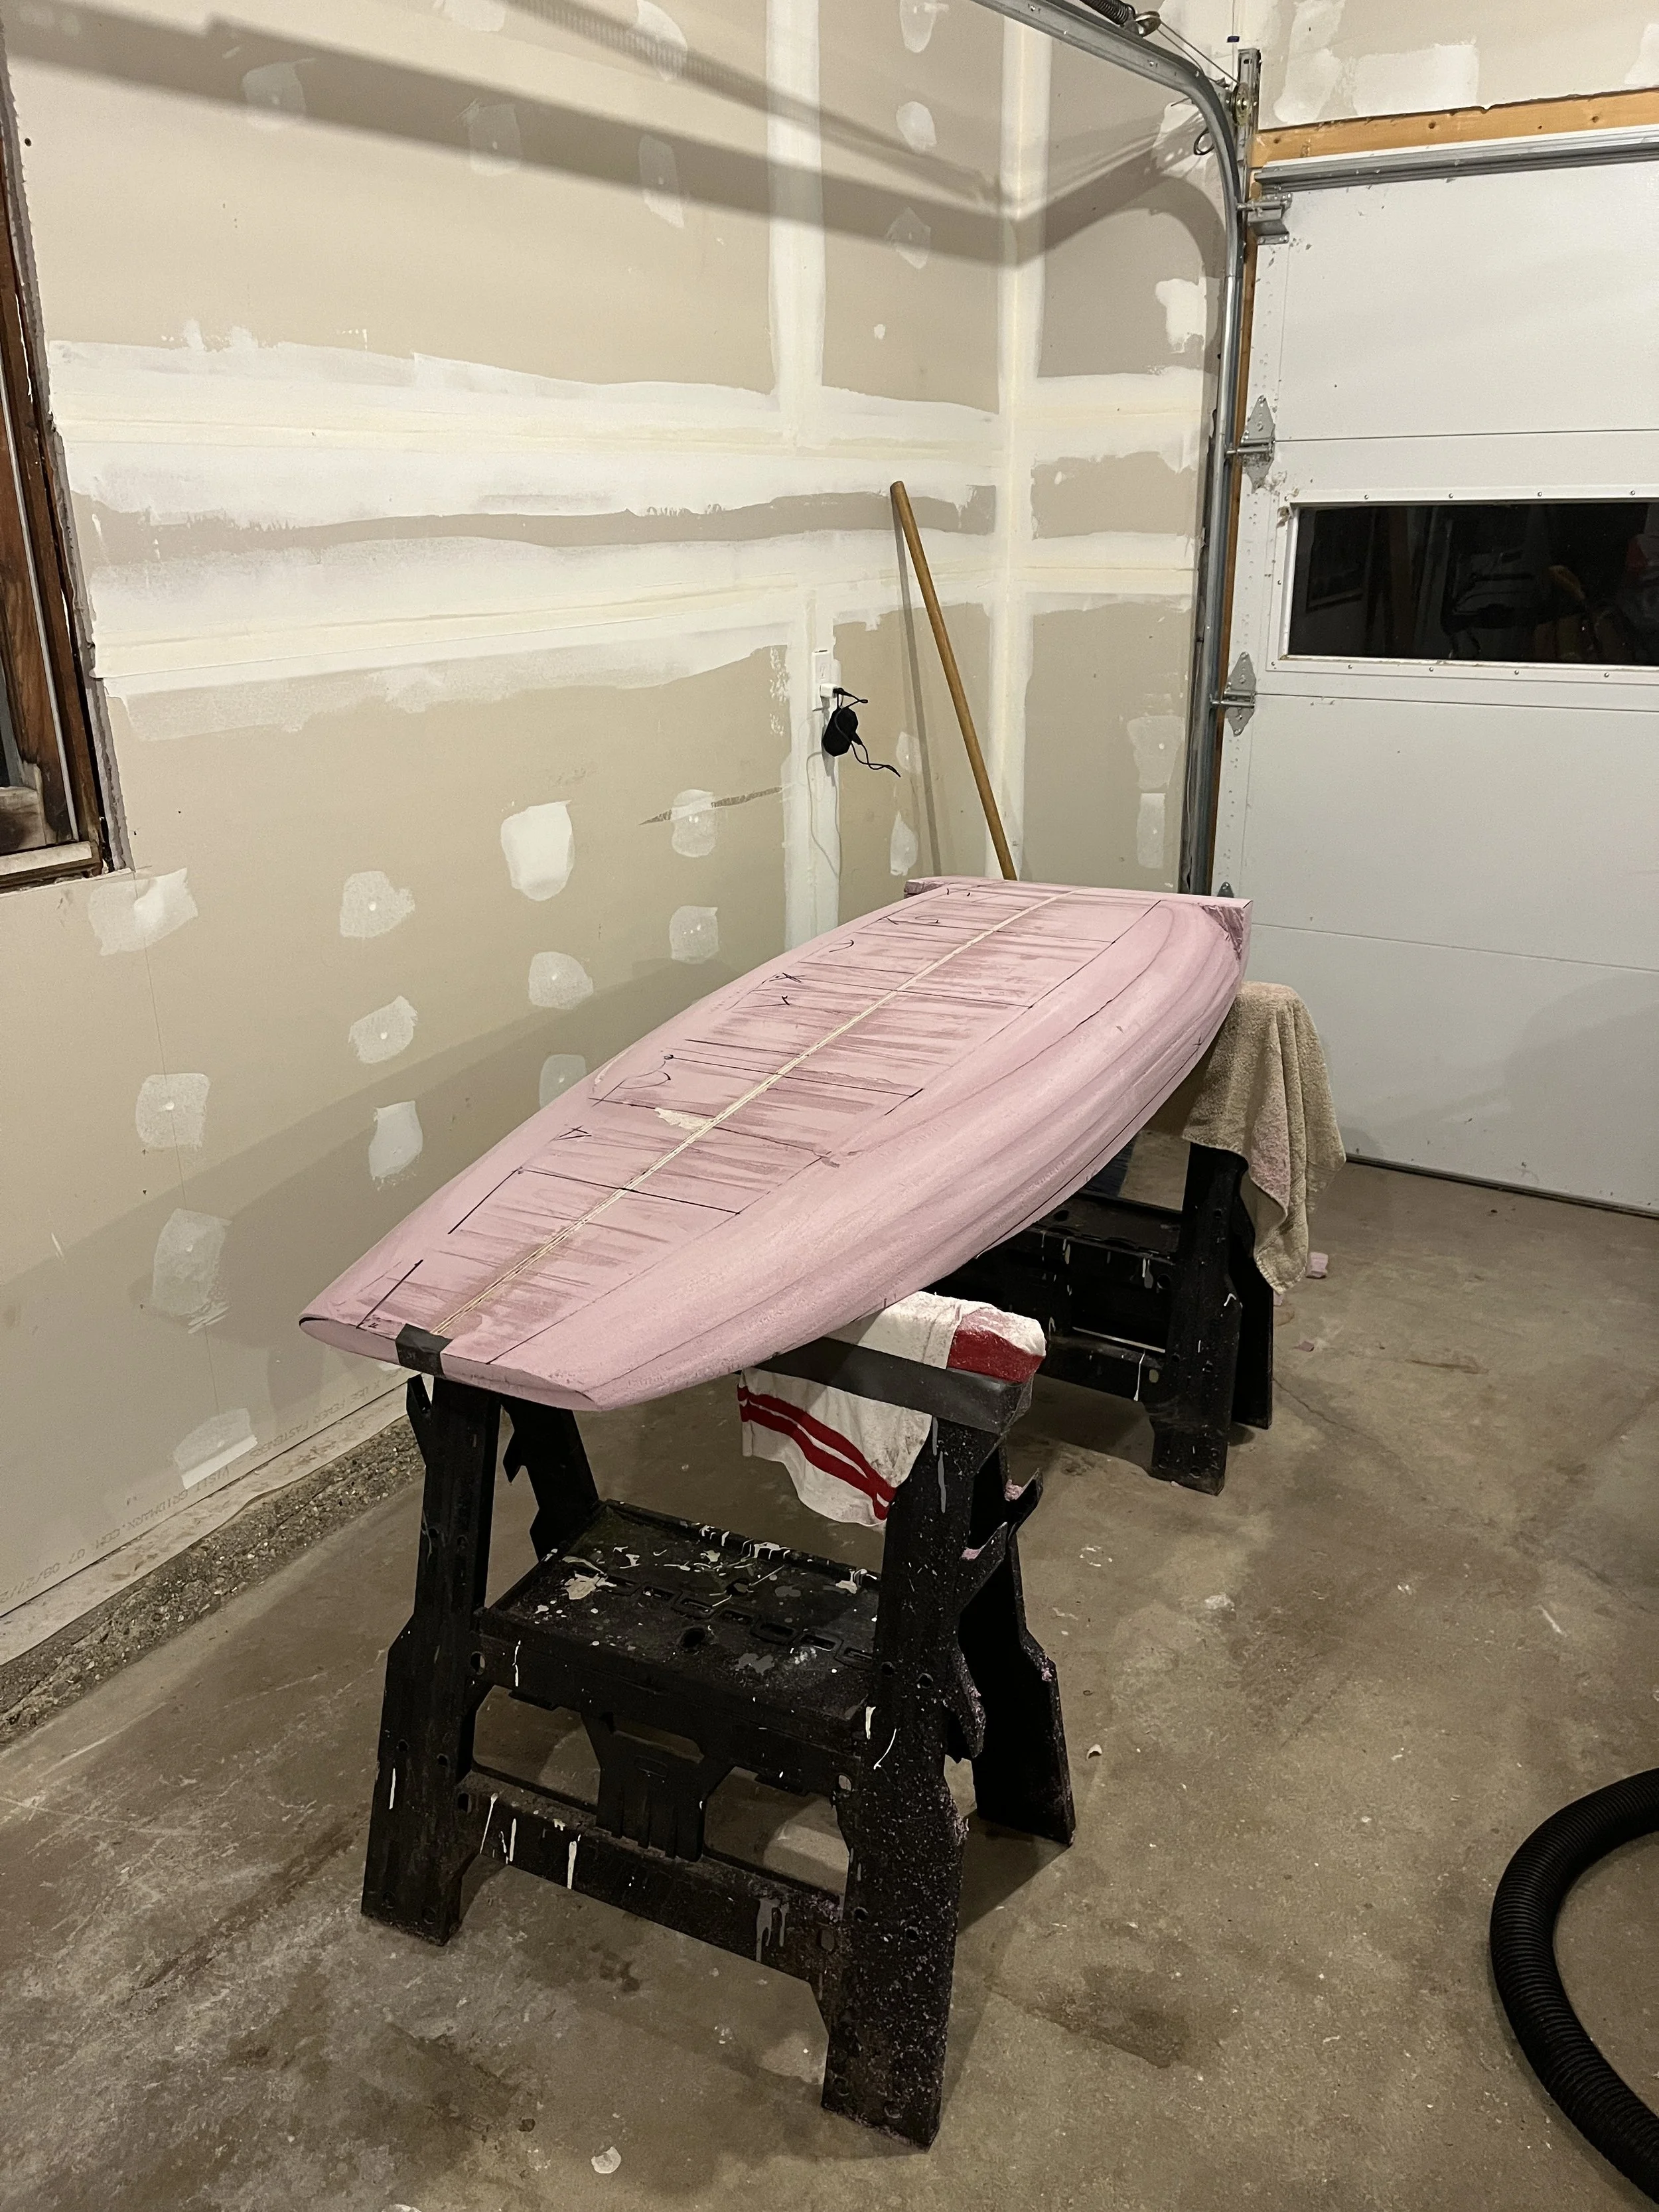
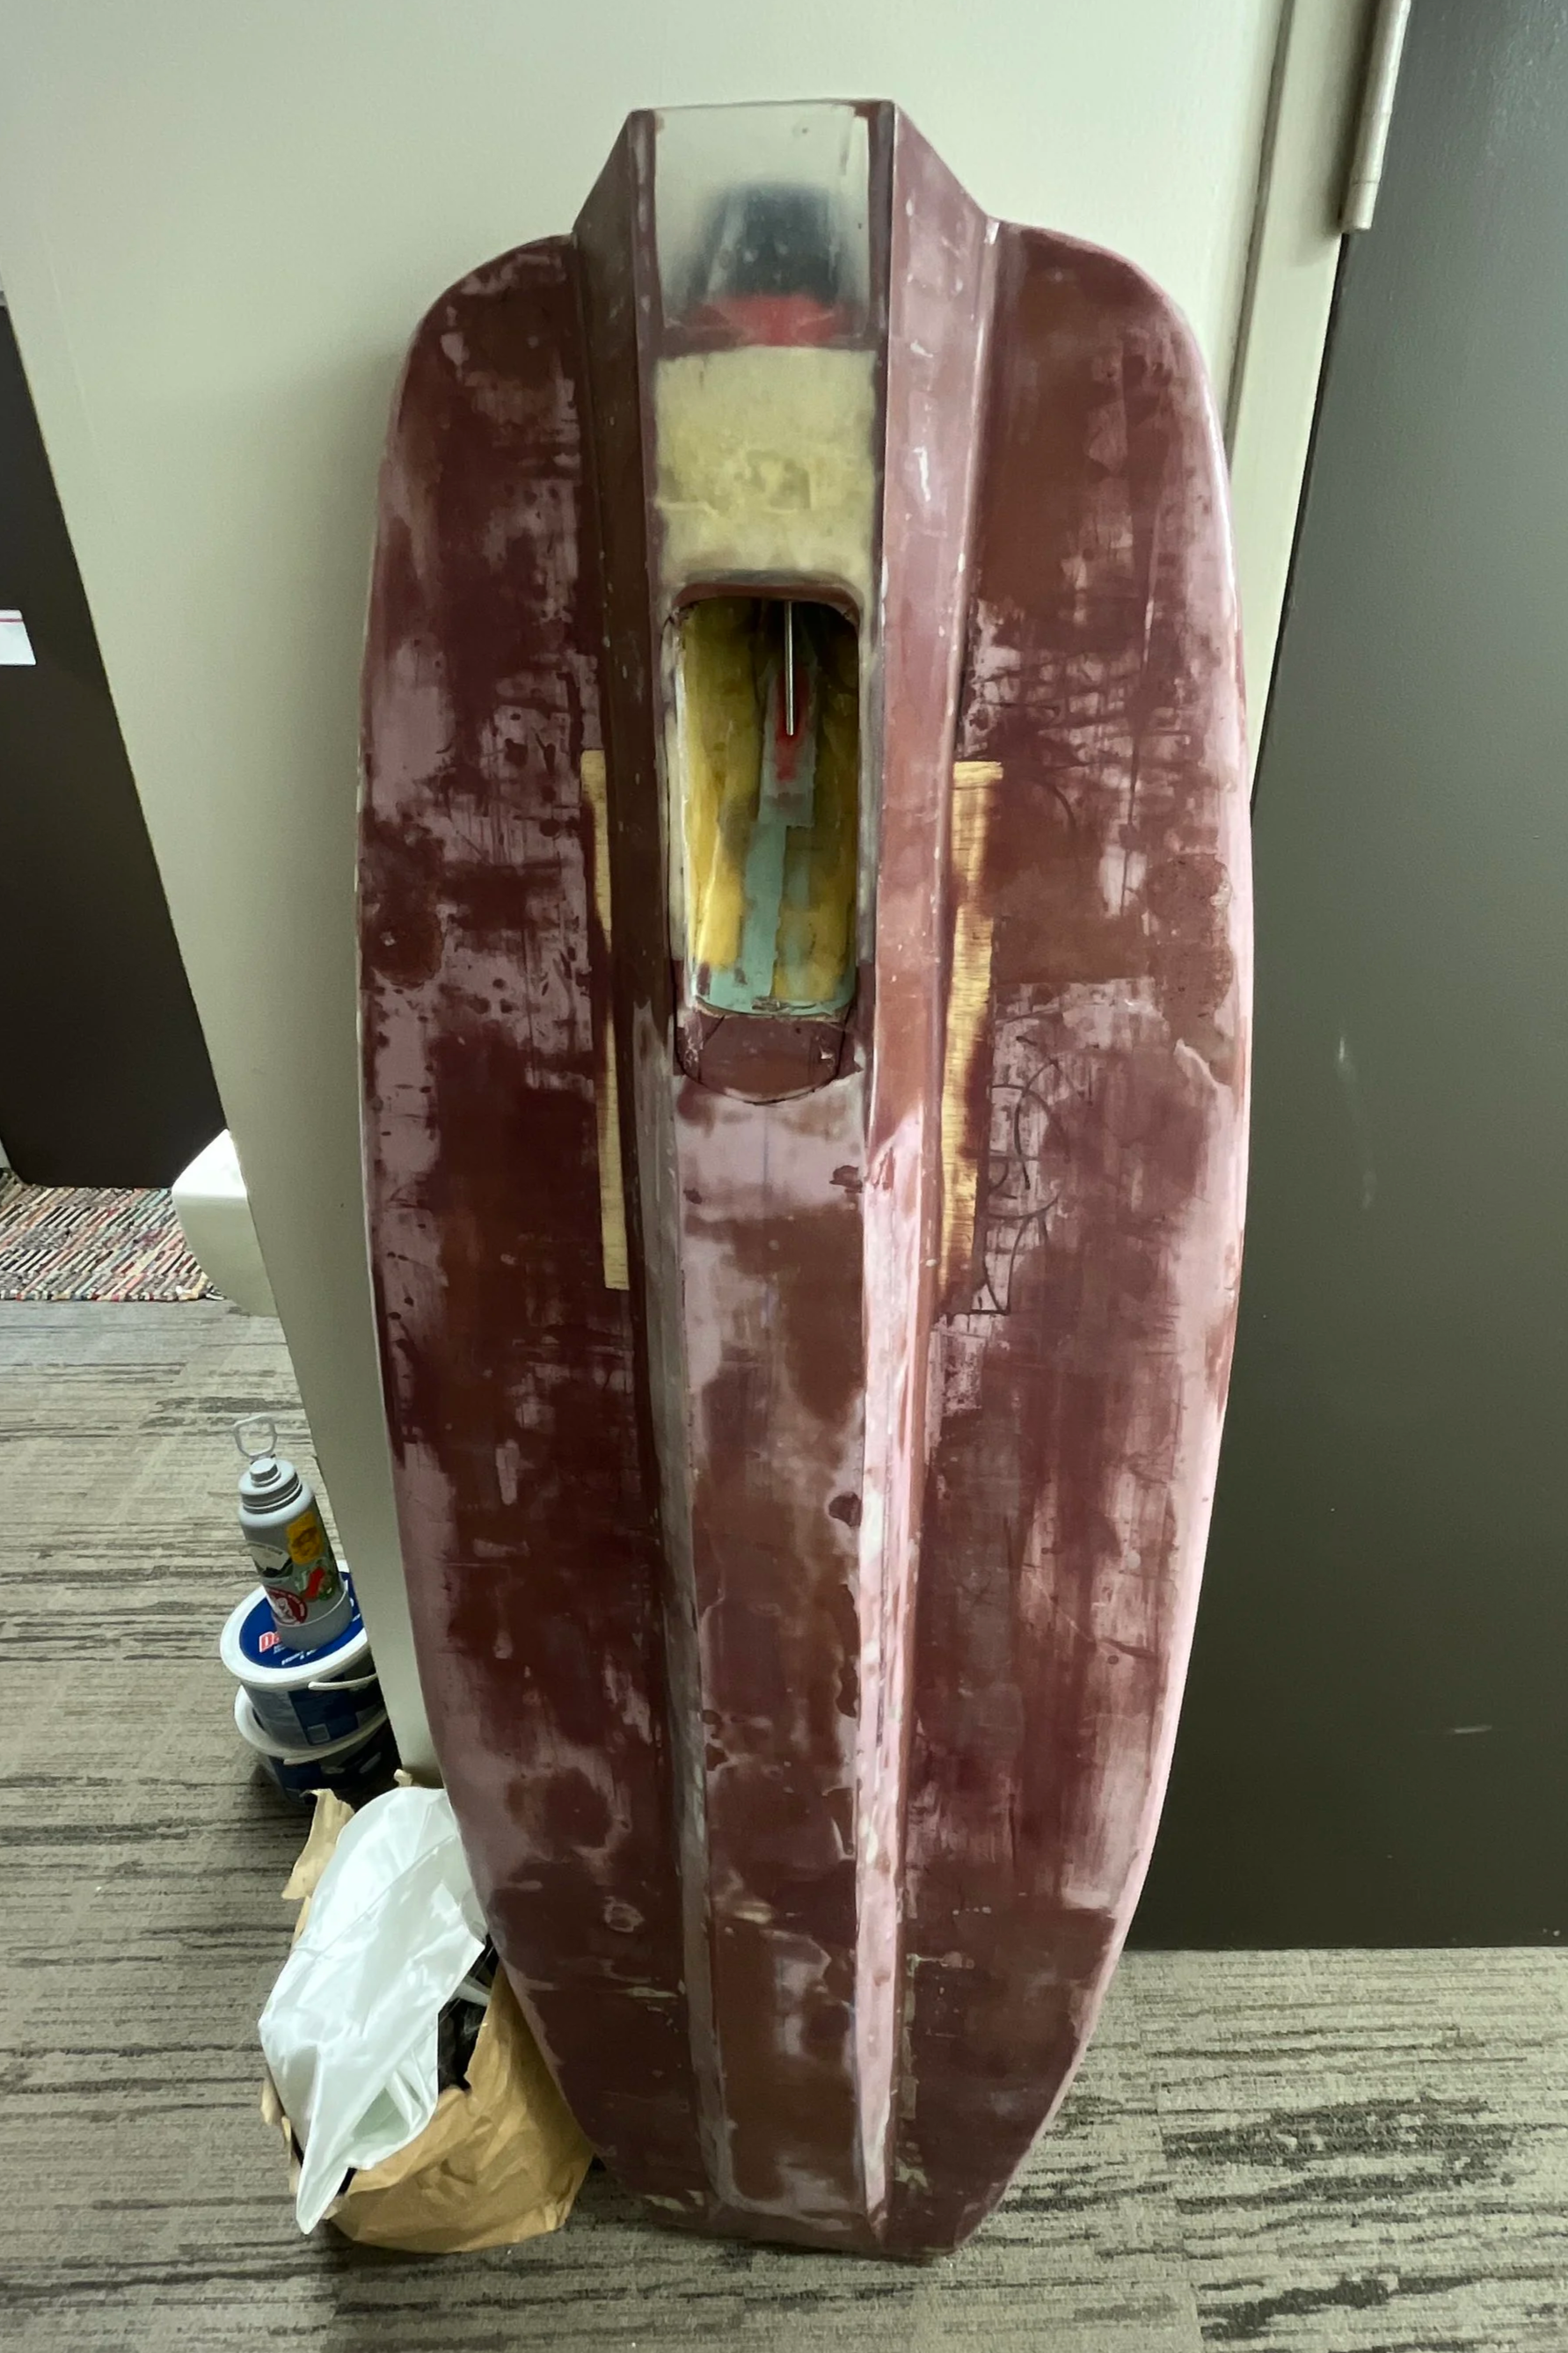
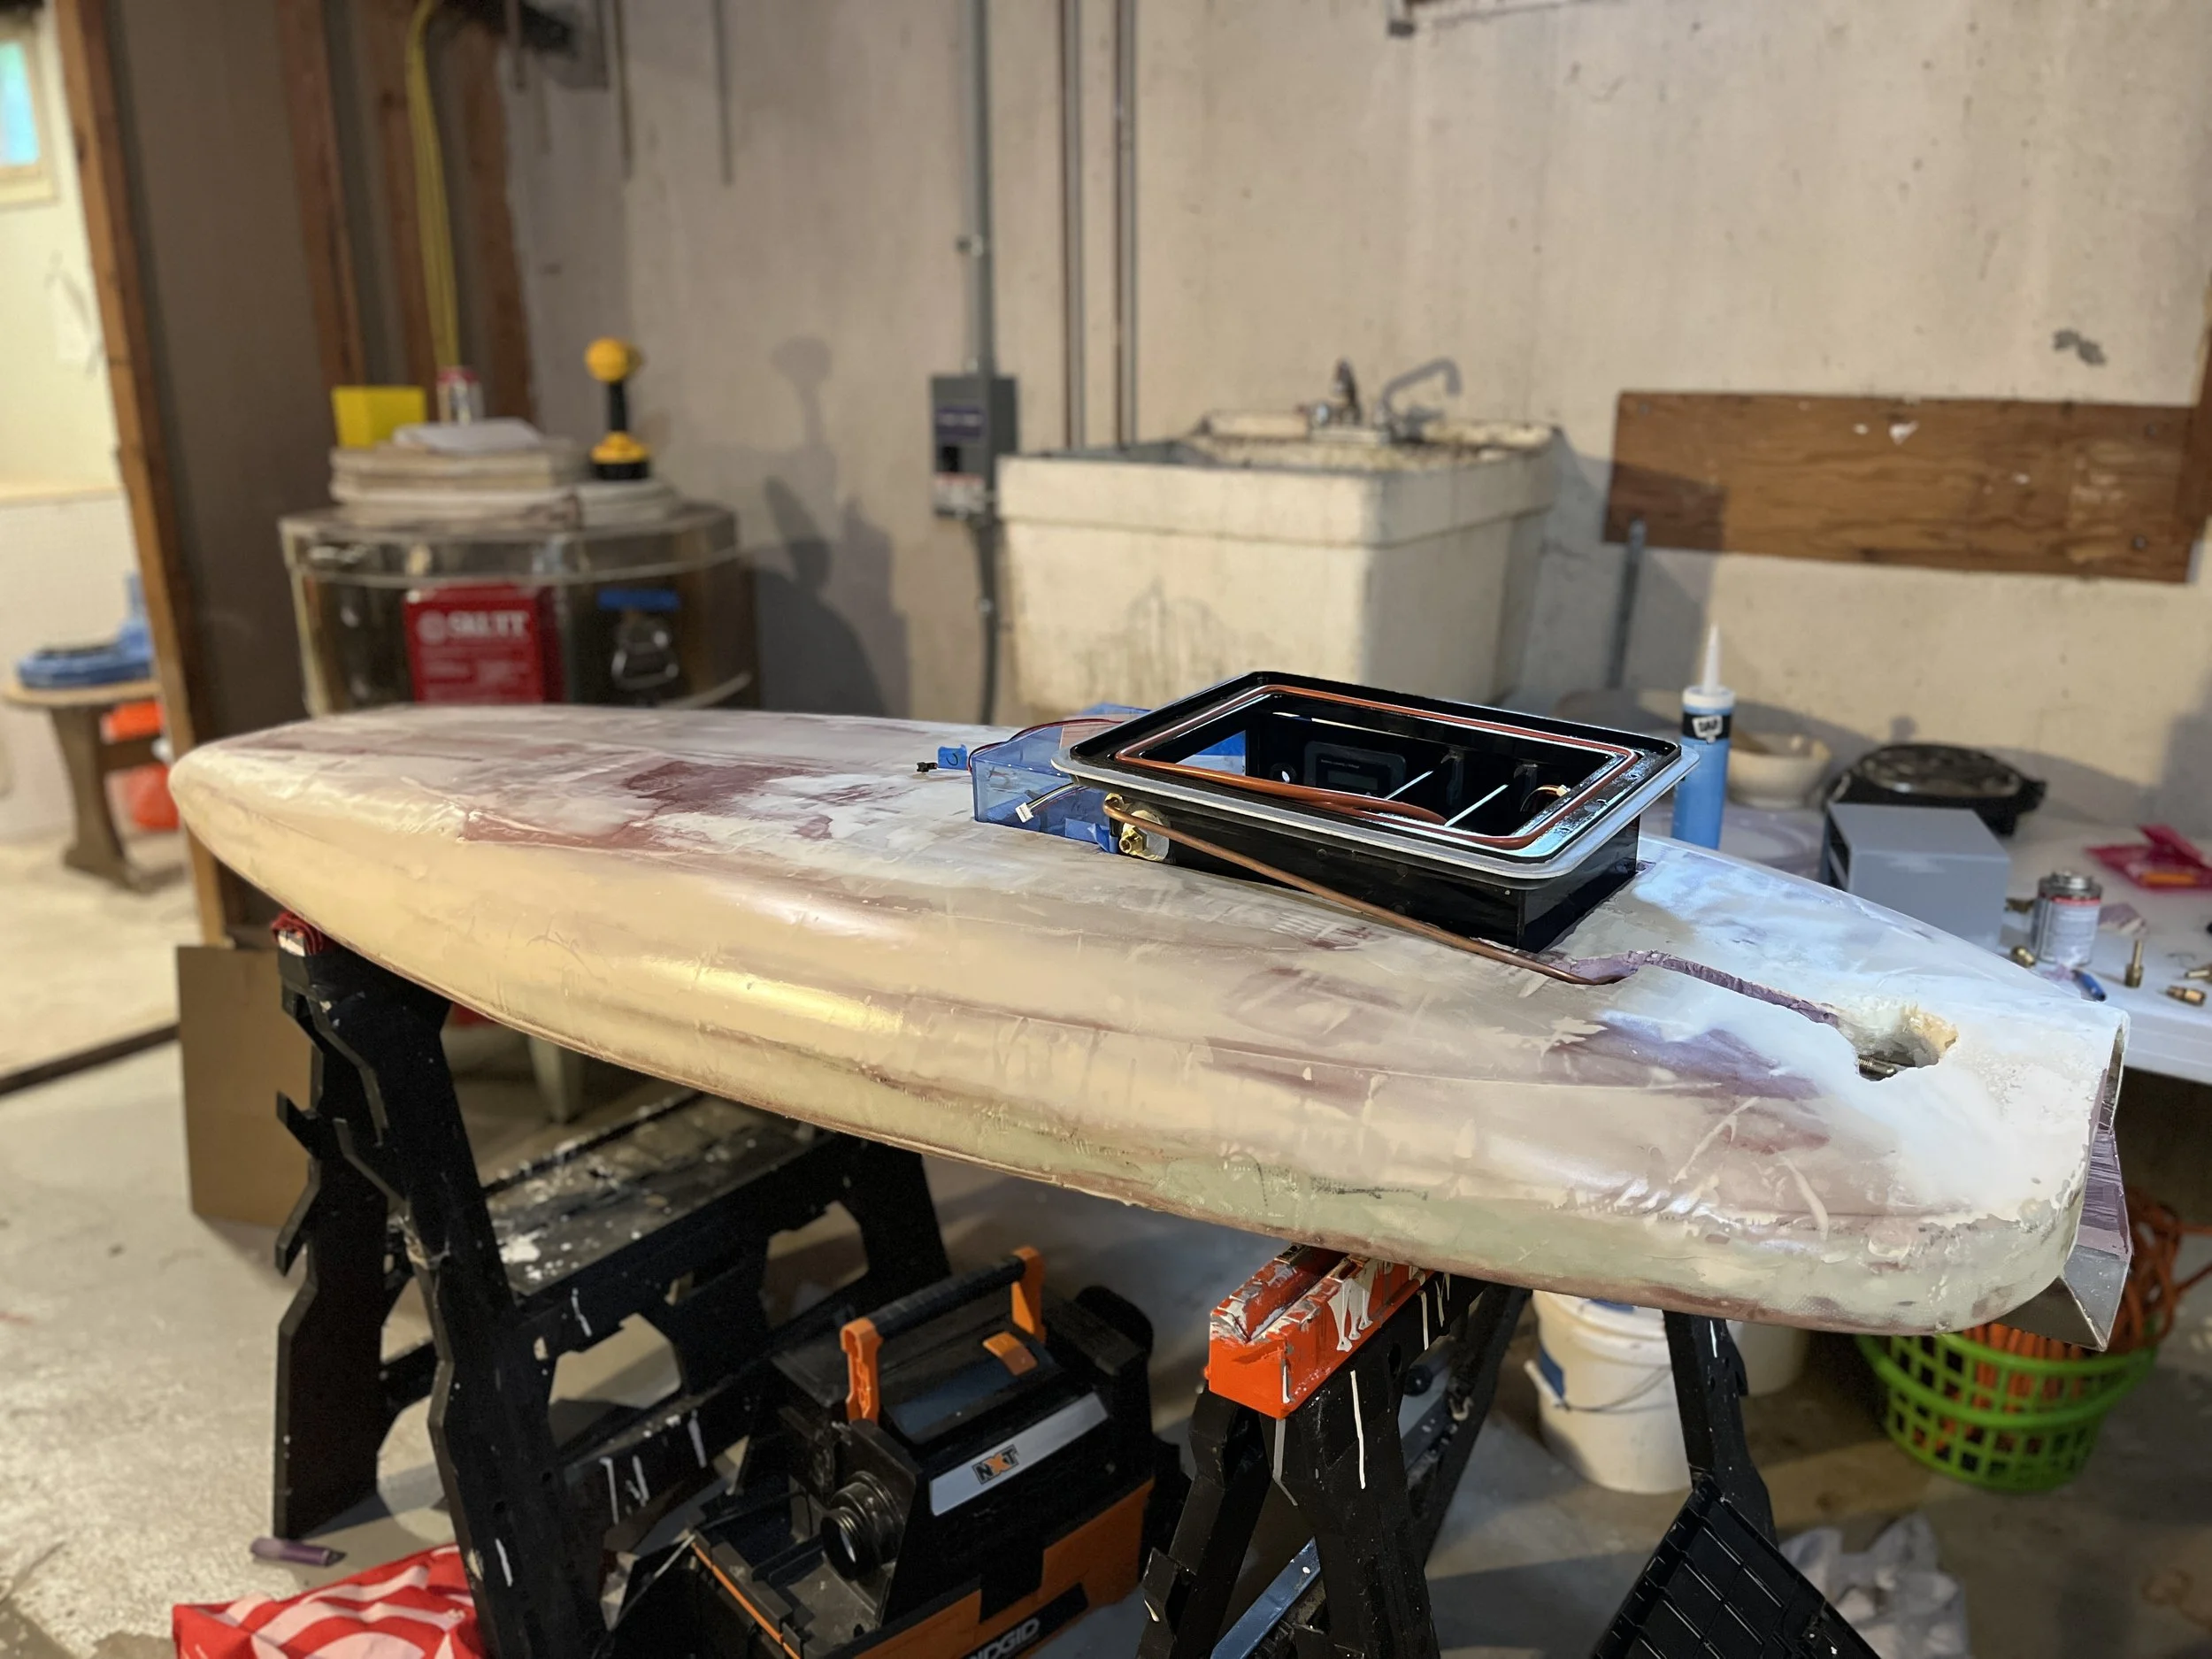
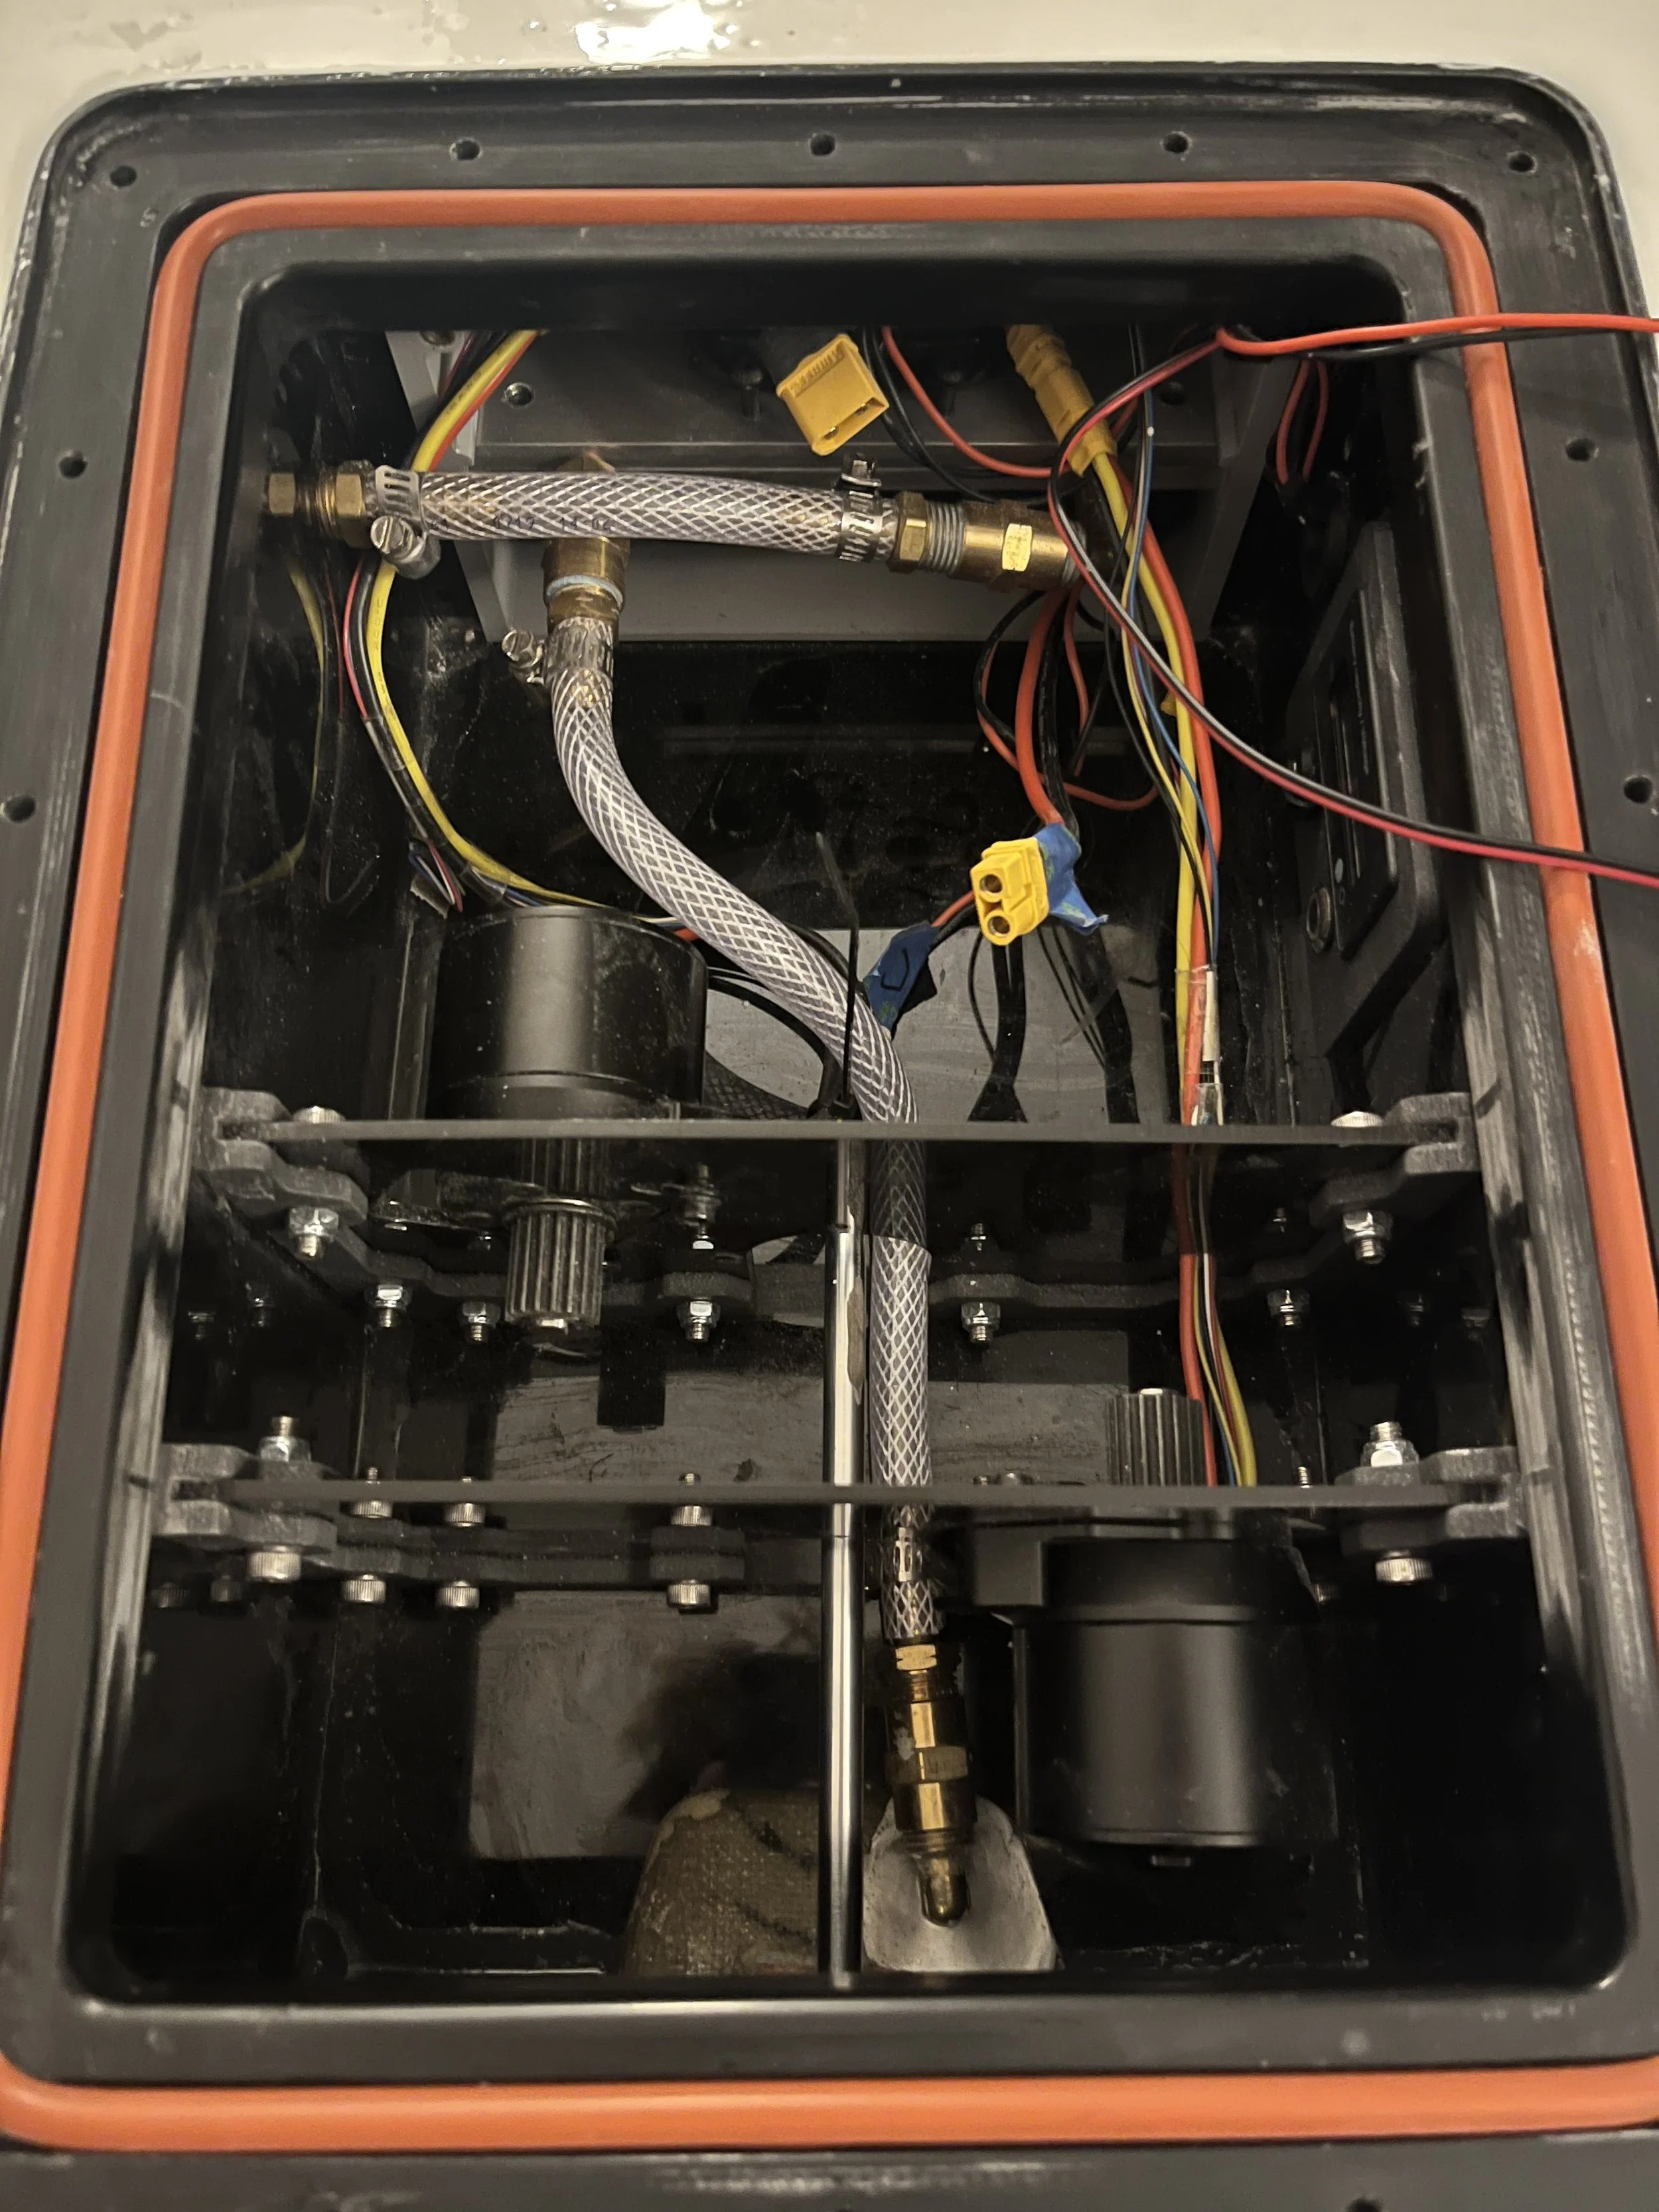
The board’s core is laminated XPS insulation foam from Home Depot, shaped by hand and wrapped in fiberglass with epoxy. The electronics enclosure is laser-cut acrylic inset into the board, sealed with a gasketed 1/4" polycarbonate lid and a watertight screw port for access. To prototype quickly, I used repurposed electric skateboard components for the motor, ESC, and battery. Many of the parts are 3D printed, including the impeller, which I printed in Tough 2000 on a Formlabs SLA printer for stiffness and durability.
To keep the battery and ESC from overheating inside a sealed enclosure, I designed a custom water-cooling block fed by seawater pressurized by the pump itself and routed through the board.
Conclusions
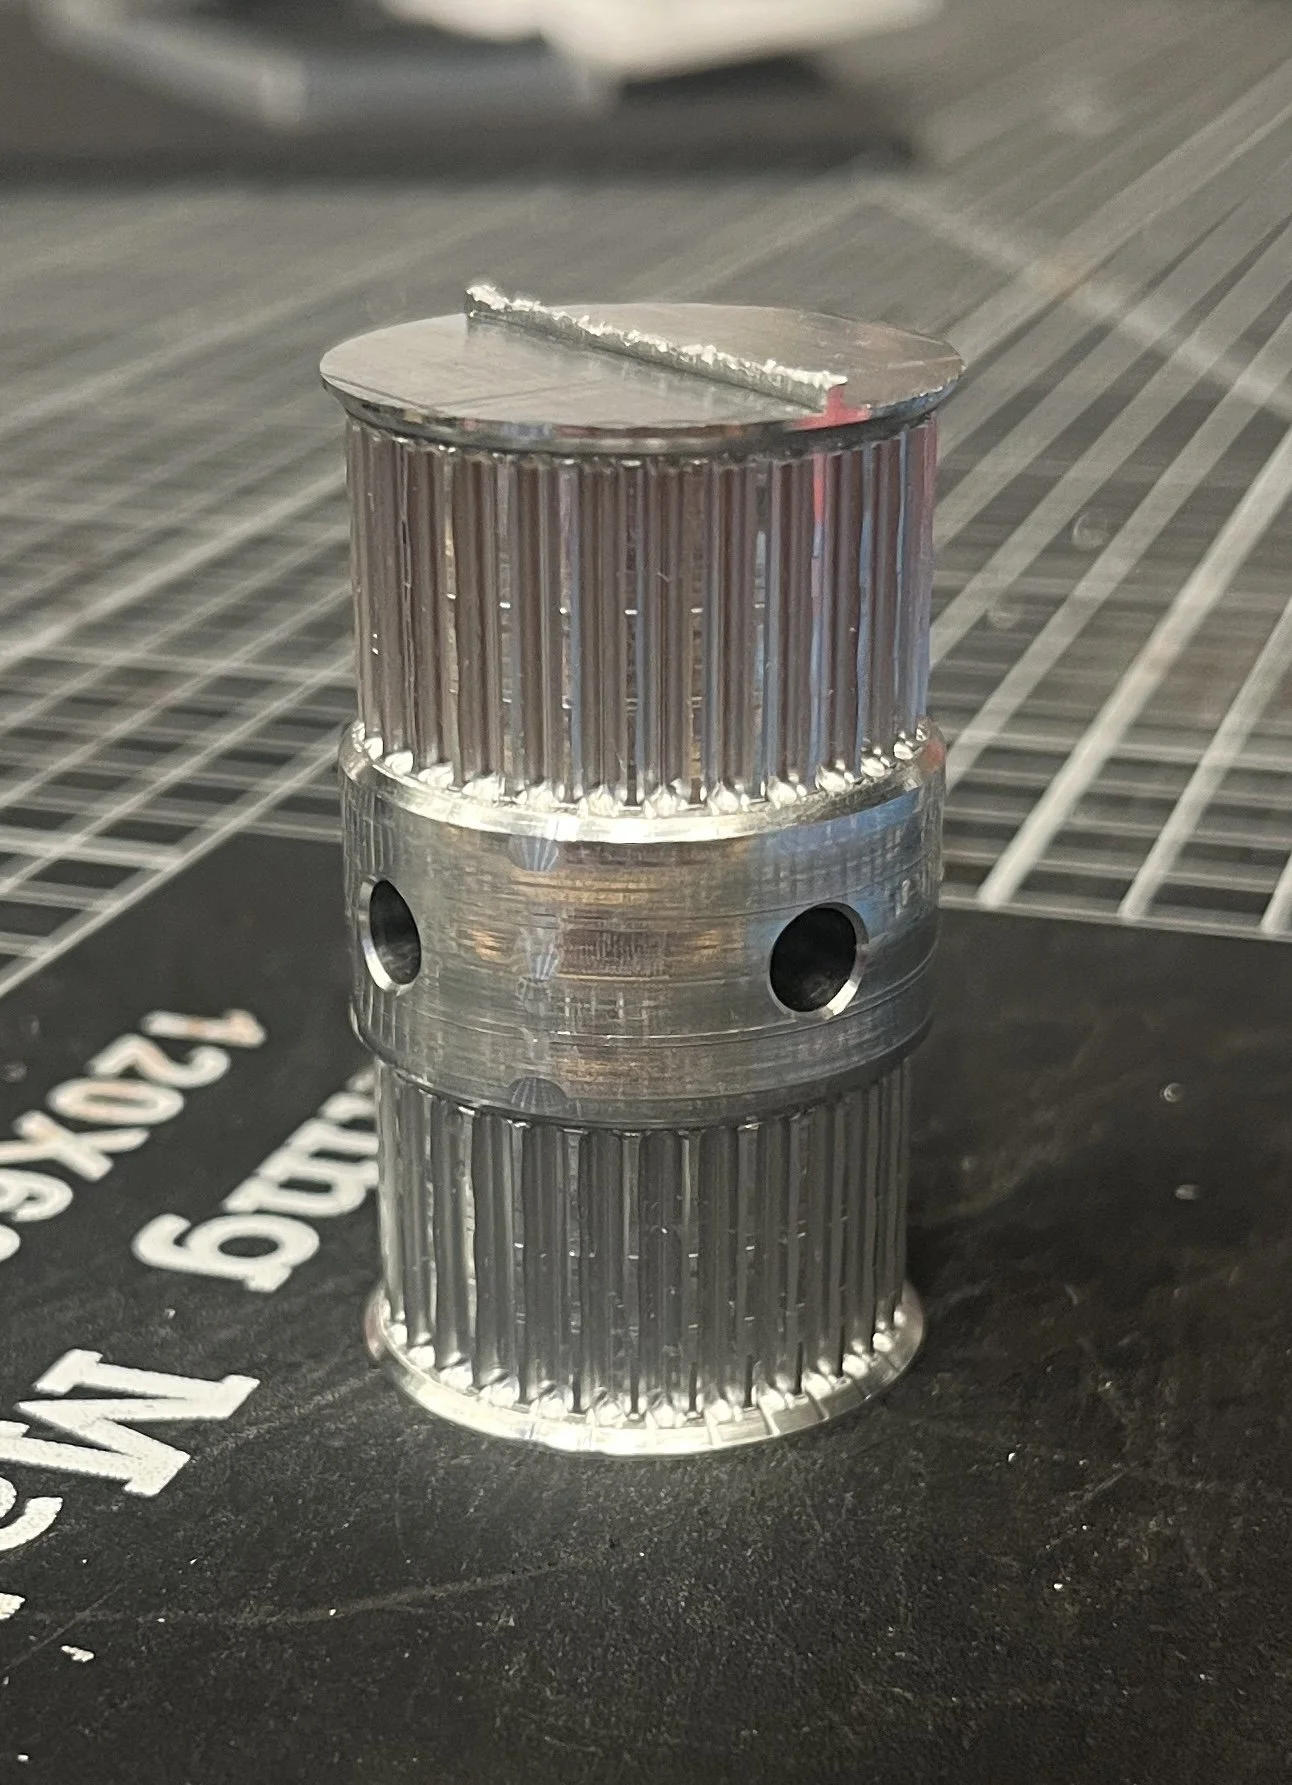
The pump and cooling loop have both been validated in on-water testing, and the electronics enclosure remains watertight even when fully submerged. The main challenge so far has been the drive train, which carries more forces than the 3D-printed test parts could handle. Unsurprisingly, after an extended run, the printed sprocket’s keyway failed under torque and the sprocket spun on its shaft. I’m replacing the printed drive components with machined aluminum parts, starting with that sprocket. The next step for the project is to broach a keyway into the new sprocket (fig. 9), reassemble the drive train, and run another on-water test.
-
![PumpHousing]()
Fig 1. Fabricating the jet pump.
-
![shaping]()
Fig 2. Shaping the board out of pink XPS foam insulation.
-
![FirstFiberglassWrap]()
Fig 3. First fiberglass lamination (in my dorm room).
-
![FinInstall]()
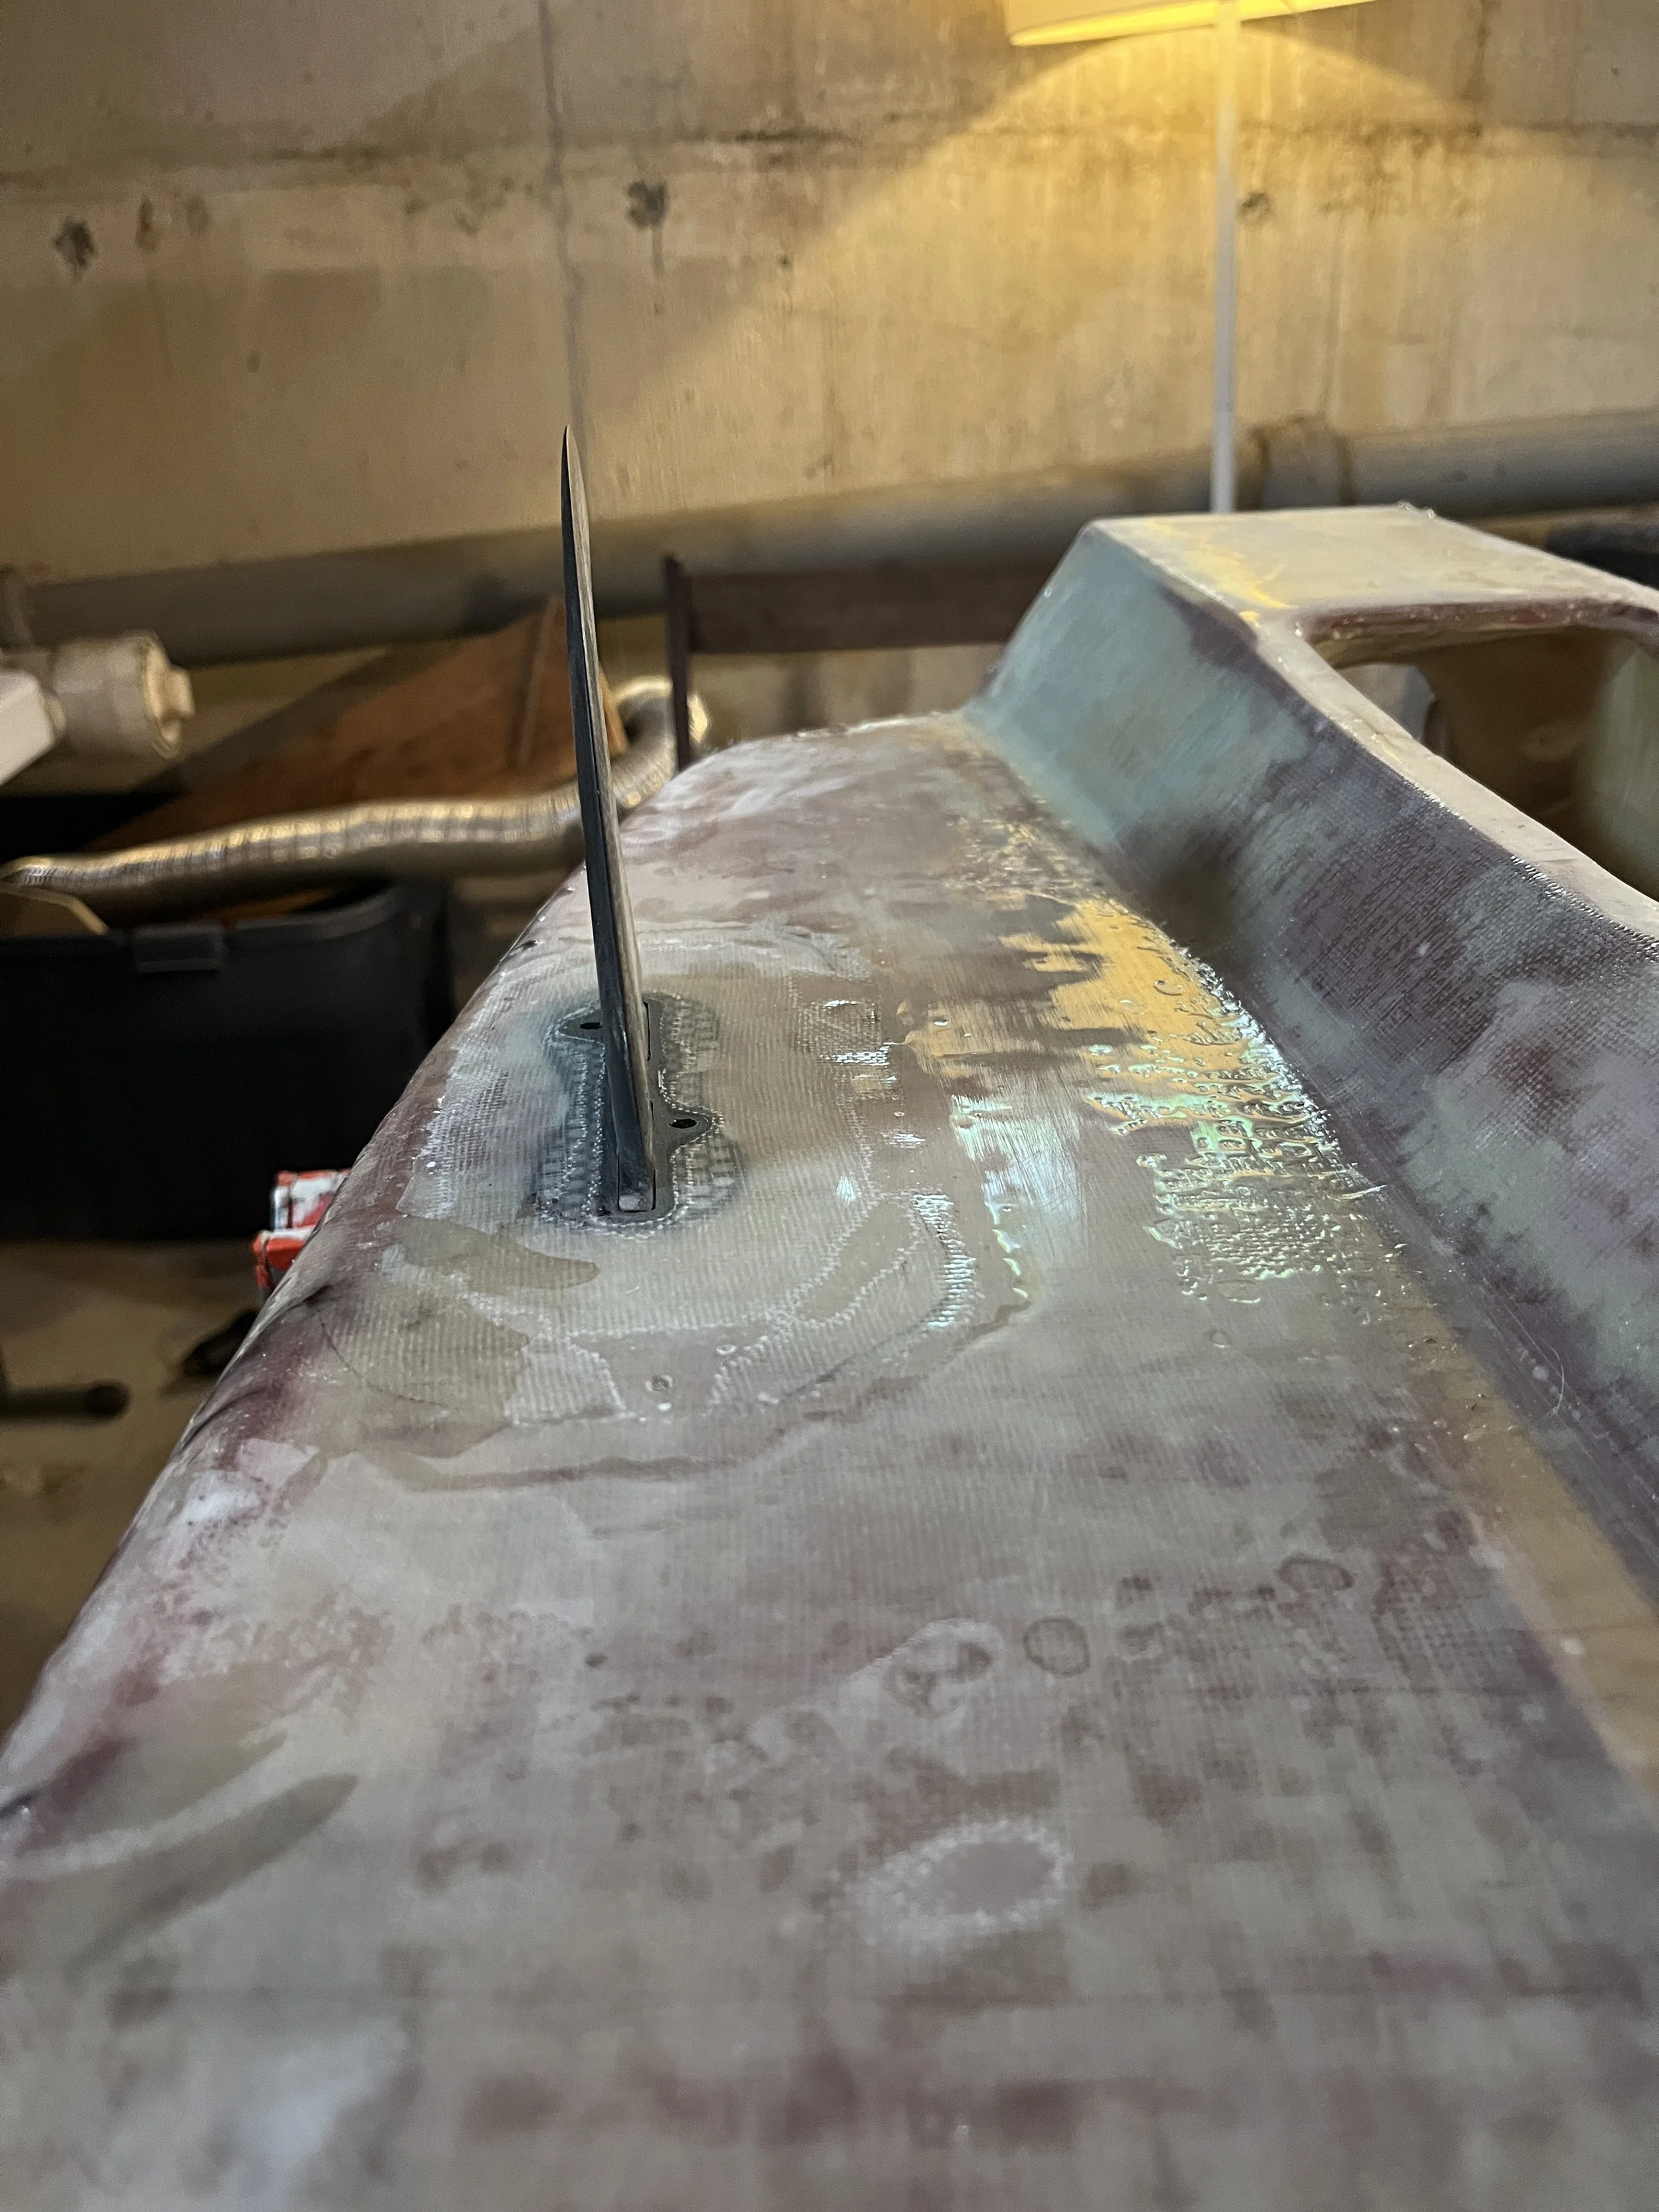
Fig 4. FCS Fin boxes installed/ w fins to help the board track and turn.
-
![FittingEHousing]()
Fig 5. Fitting the electronics housing/ water cooling lines.
-
![Hotcoat]()
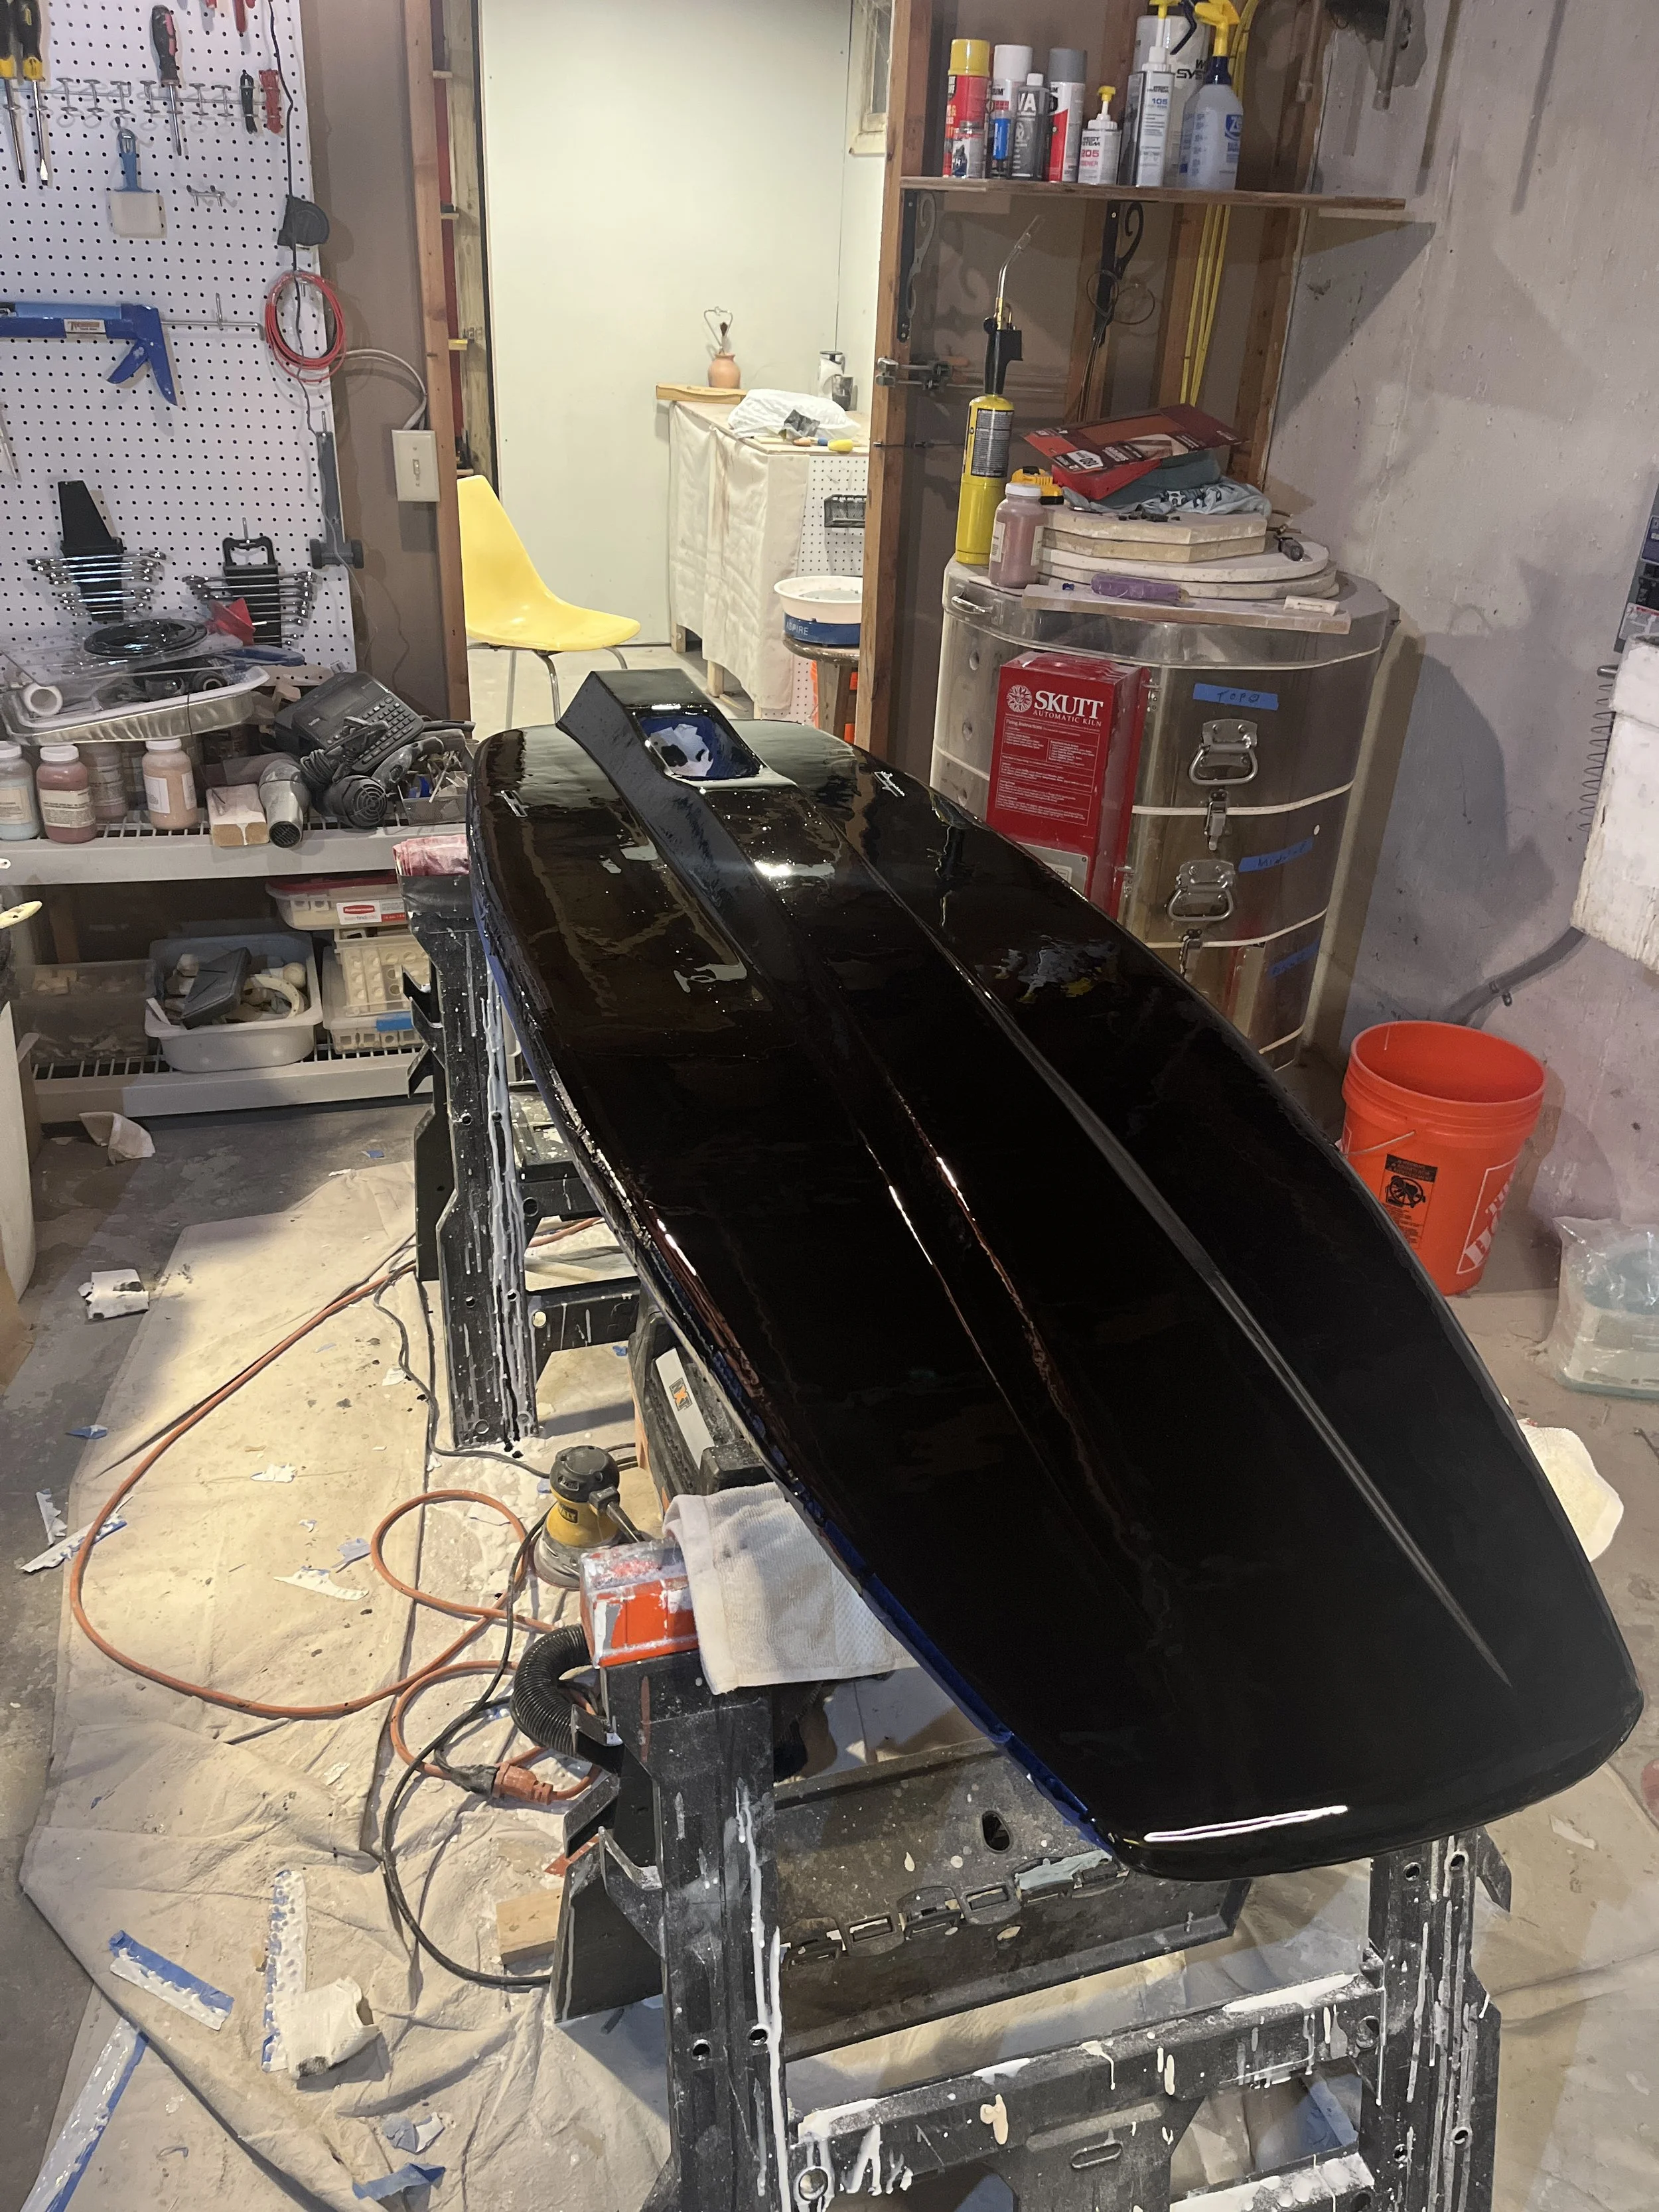
Fig 6. Black tinted epoxy hot coat.
-
![ElectronicsHousing]()
Fig 7. Electronics housing and water cooling lines prepared for bench testing.
-
![Bottom Deck]()
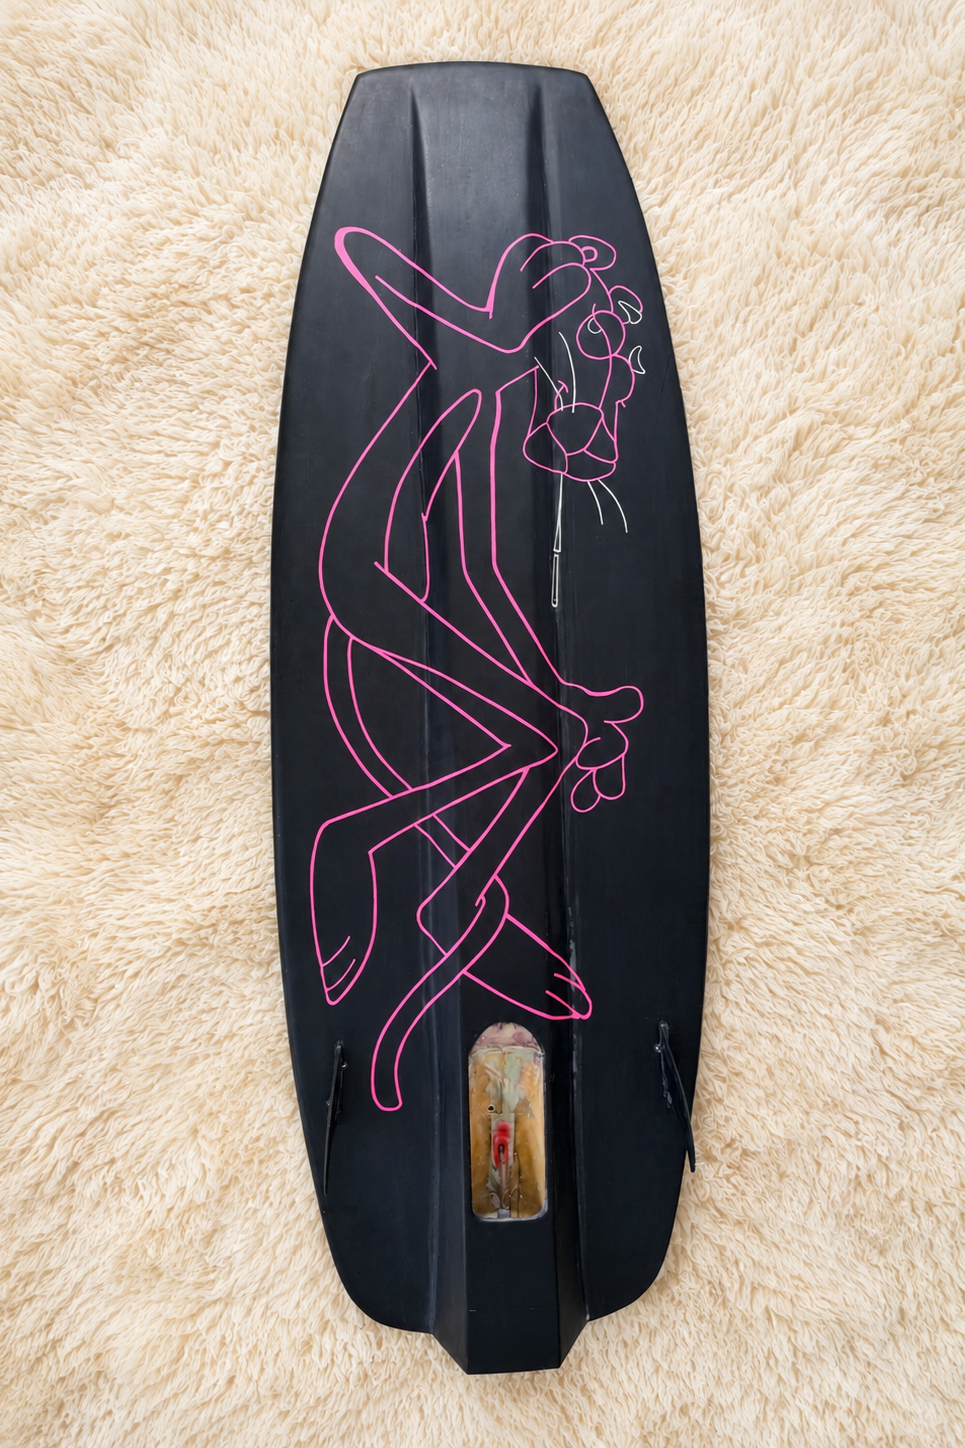
Fig 8. Graphics hand painted and sealed on the bottom of the board.
-
![NewSprocket]()
Fig 9. Machining a custom HTD sprocket for the drive train.